|
4/30/2022 0 Comments Solar Panel Installation Guide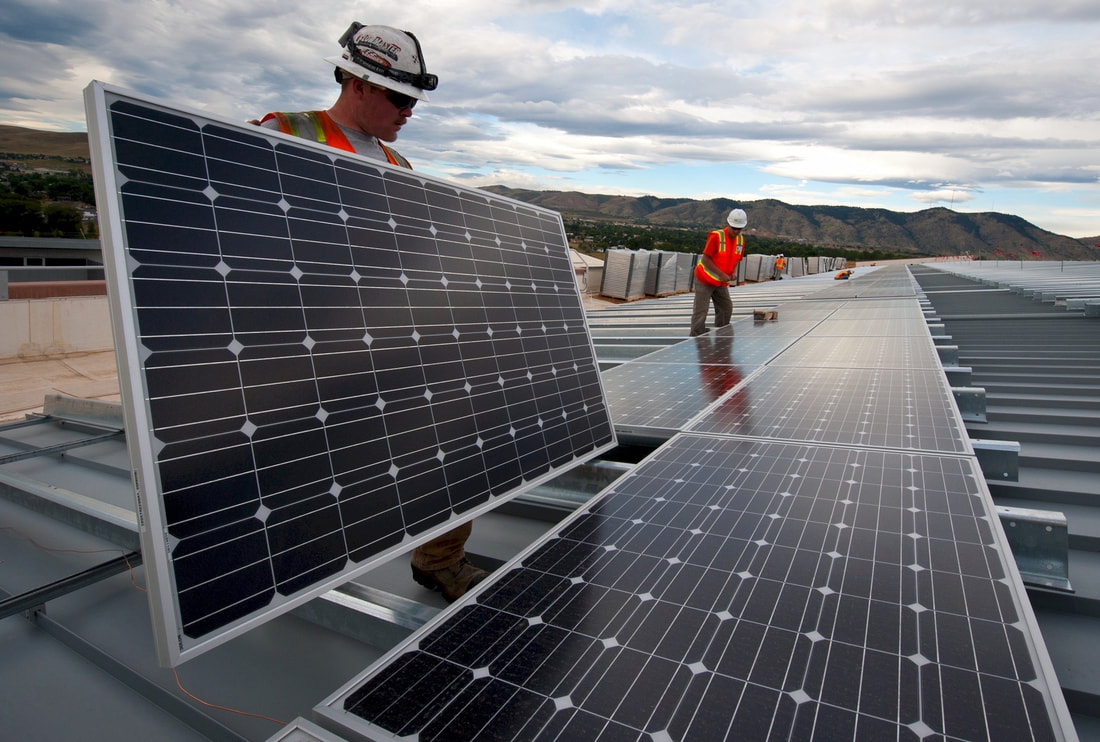 When planning a solar panel installation, you will need to determine how much energy you need to produce. This will determine the length of the installation process, which can take anywhere from one to three days. In addition to the time needed for the installation, you will need to schedule the permitting process, which can take up to three months. The solar panel installation guide includes instructions for how to go about arranging for a professional solar installer. Every installation is unique, because of energy needs and the roof layout, number of panels, and type of system. These experts make sure that their installation maintains ownership of quality for many years. When you decide to install a solar panel system on your rooftop, you will also need to get a permit from your local utility company. Once your system has been approved, you will need to interconnect it with the electrical grid. This process may require the installation of a new electricity meter. Some utilities offer net-metering programs, which allow you to receive credits for any surplus electricity you produce and feed into the grid. If you qualify, your system could help you save money and accelerate your payback period. The solar panel installation process begins with an initial site inspection. During this inspection, solar installation contractors will assess your home's characteristics to determine what size system is best suited for your home. Once the engineer has completed a site evaluation, they will design your solar panel system based on those attributes. They can also address any potential obstacles that may arise during the installation process. Once the contractor linked at blueravensolar.com/washington/top-solar-panel-installer-in-spokane/ has designed the system, it must be submitted to your local government for permitting. Permitting varies by region and contractor, so you should communicate with them closely during this process. Once the foundation is ready, the next step is mounting the panels. For ground-mounted solar panels, ensure that nothing blocks the sunlight from reaching the panels. If the installation is going to involve scaffolding, make sure to secure this piece to the roof. The installation is not complete without the proper mounting system. Then, you will need to install rails that support the solar panels. The mounting system should be tilted at an angle of 18 to 36 degrees. The next step is wiring the electrical run to the solar panels. Each solar panel installation guide will explain the specifics of wiring, such as grounding and installing a backfeed breaker. This step is crucial if you are planning on installing an off-grid system or a grid-tie system with battery backup. You should also consult the manufacturer's instructions for battery installation. After this, you can proceed with the installation. If you're not comfortable with electrical work, the best route to take is to hire a solar panel installation professional. They'll have experience and knowledge of solar technology and installation, maximizing the return on your investment. Solar panel installation professionals will also know the proper placement of solar panels, ensure that the system is safe, and make sure that everything is running as smoothly as possible. It's also helpful to choose a reputable, licensed solar panel installation company. For a general overview of this topic, click here: https://simple.wikipedia.org/wiki/Solar_panel.
0 Comments
Leave a Reply. |
